
-
Modelers Alliance has updated the forum software on our website. We have migrated all post, content and user accounts but we could not migrate the passwords.
This requires that you manually reset your password.
Please click here, http://modelersalliance.org/forums/login to go to logon page and use the "Forgot your Password" option.
You are using an out of date browser. It may not display this or other websites correctly.
You should upgrade or use an alternative browser.
You should upgrade or use an alternative browser.
Cyber Hobby Panther F
- Thread starter Iron Mike
- Start date

Iron Mike
Master At Arms And Resident Curmudgeon
Well, it's time for an update. Thanks again to all who took time to look and comment, I certainly appreciate it! As promised, the double secret part of this weapon, LACHGAS!
The German tank command had been using stadtgas as fuel for training vehicles, reserving precious gasoline for the front lines. Borrowing some of the equipment, Herr Rommel had his command vehicle outfitted with the latest discovery for boosting horsepower and giddyup. The tanks are filled with lachgas or nitrous oxide in English (and you thought the Fast and Furious crew thought this up), making this Panther have some serious jump! Here's how it was done.
Starting with the Voyager Model set PE35936, I used the tanks and regulators. The brass racks looked awesome initially, but the T clasps were too short to fold the sides around. This caused a production delay while I scratched my head and finally a new set of racks was made from sheet styrene and brass wire.
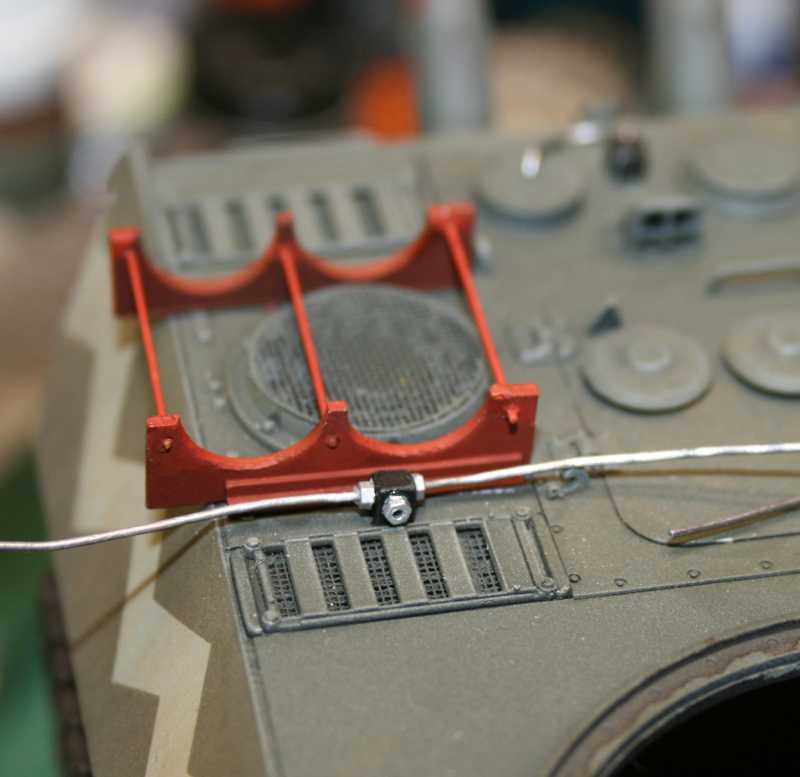
The Voyager set came with fuel blocks, but I decided to make my own plumbing. The T block is square Evergreen stock, the fitting were made from Meng resin bolt heads that were center punched and drilled out. I love those things!
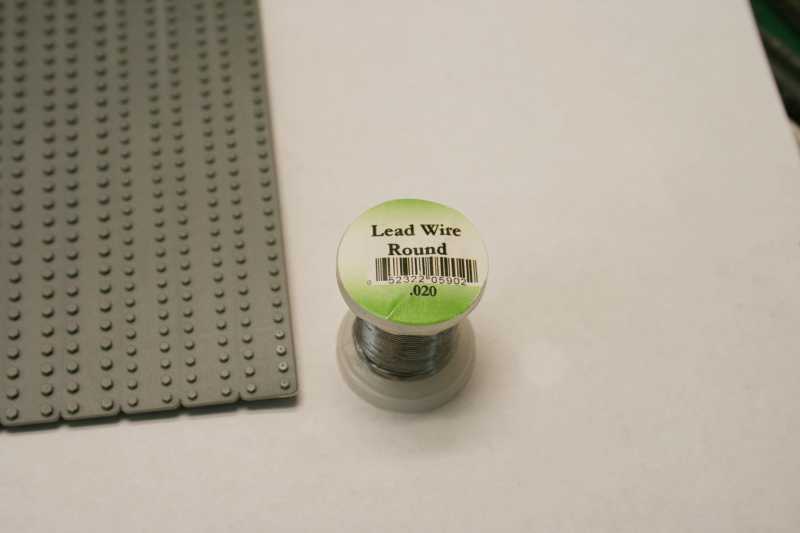
The fuel lines were made from .020 lead wire, sourced from a fly fishing shop.
The canisters were painted with Tamiya Sky and the labels were painted with Tamiya NATO Black, using stencils from Matho Models and Eduard. Intimidating, huh?
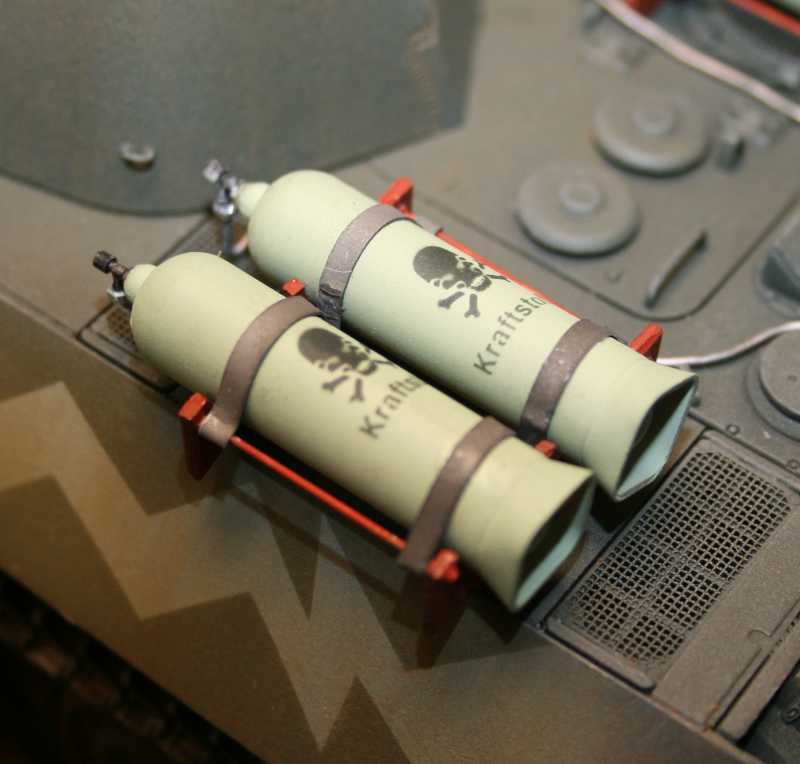
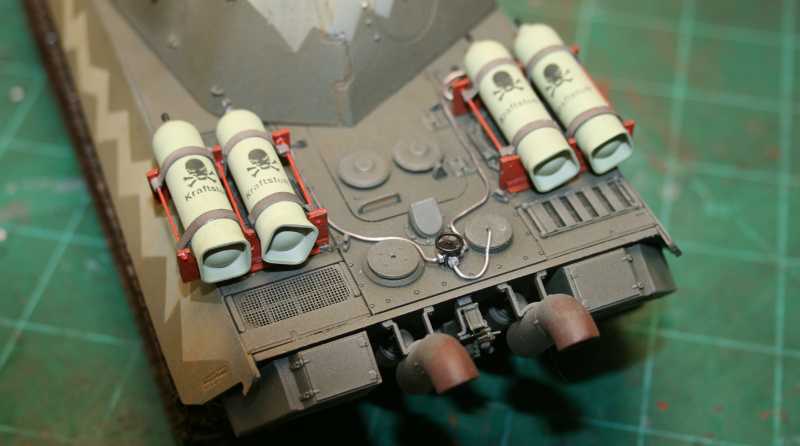
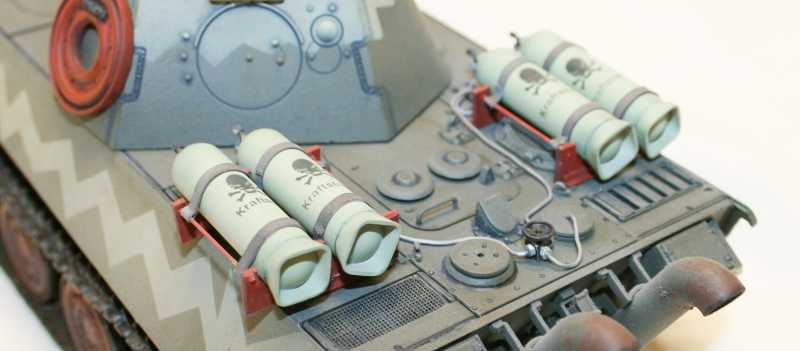
The T's were located first, then the tanks were glued into the racks. The straps are lead foil, painted with Tamiya Dark Iron. Once everything dried, the lines were run from the tanks to the T and then to the engine compartment.

I added a hand wheel from the spares box as a shut off valve to complete the installation.
Rhino was kind enough to make a set of decal unit markings, the werewolf came out quite well I believe. Time for some clear coat and on to the pin washes and weathering.

Ah ooooooo!
https://www.youtube.com/watch?v=fIPvljWfH00
Thanks for dropping by!
:drinks
The German tank command had been using stadtgas as fuel for training vehicles, reserving precious gasoline for the front lines. Borrowing some of the equipment, Herr Rommel had his command vehicle outfitted with the latest discovery for boosting horsepower and giddyup. The tanks are filled with lachgas or nitrous oxide in English (and you thought the Fast and Furious crew thought this up), making this Panther have some serious jump! Here's how it was done.
Starting with the Voyager Model set PE35936, I used the tanks and regulators. The brass racks looked awesome initially, but the T clasps were too short to fold the sides around. This caused a production delay while I scratched my head and finally a new set of racks was made from sheet styrene and brass wire.
The Voyager set came with fuel blocks, but I decided to make my own plumbing. The T block is square Evergreen stock, the fitting were made from Meng resin bolt heads that were center punched and drilled out. I love those things!
The fuel lines were made from .020 lead wire, sourced from a fly fishing shop.
The canisters were painted with Tamiya Sky and the labels were painted with Tamiya NATO Black, using stencils from Matho Models and Eduard. Intimidating, huh?
The T's were located first, then the tanks were glued into the racks. The straps are lead foil, painted with Tamiya Dark Iron. Once everything dried, the lines were run from the tanks to the T and then to the engine compartment.
I added a hand wheel from the spares box as a shut off valve to complete the installation.
Rhino was kind enough to make a set of decal unit markings, the werewolf came out quite well I believe. Time for some clear coat and on to the pin washes and weathering.
Ah ooooooo!
https://www.youtube.com/watch?v=fIPvljWfH00
Thanks for dropping by!
:drinks
You have a fantastic imagination Mike!!!
Waaaaayyy Cool!
Bob
Waaaaayyy Cool!
Bob
Sherman 18
Master at Arms
Nice work!
Can't wait for more
:drool
Can't wait for more
:drool
phantom II
Master at Arms
Wow, definitely outside the box Mike . Great ideas and good workmanship ")
Cheers , Christian B)
Cheers , Christian B)


Plastik Smurff
Active member
lovin it so far 
outstanding work Mike! 
Skinny_Mike
Well-known member
I mean, to say you are embracing the theme of this campaign would be an understatement! Well thought out, researched and executed! Just enough reality to a plausible what-if
Nice work! :dude
Mike
Nice work! :dude
Mike
Iron Mike
Master At Arms And Resident Curmudgeon
Many thanks to all who took time to look and comment, I appreciate that! Closing in on the finish, I decided no one should go on a road trip without a spare, SO...
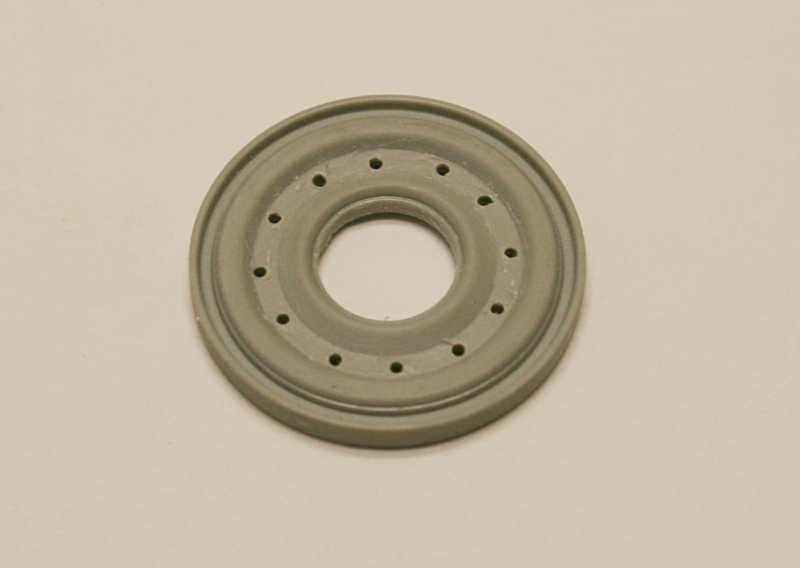
Dragon included a couple spare steel road wheels, clip off the lugs with a micro chisel, center punch the spots and drill out the bolt holes. The one on the right is unaltered.

I'd swear I took photos of the hold down bracket I made, but maybe not... :hmmm
Yesterday was a blur at the bench, you know how it is when you get on a roll.


The night vision was a left over from the old E-100, I enhanced it with wires, bolt heads and such.


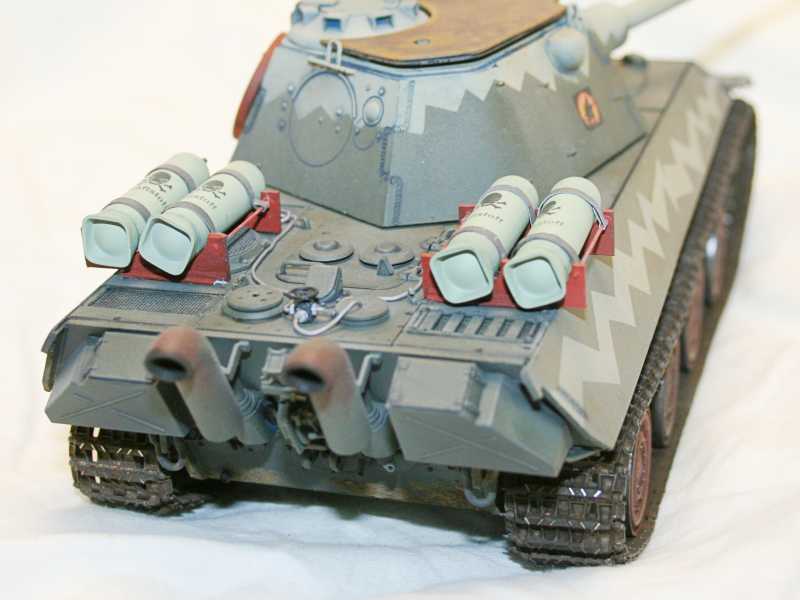

My friend, Carl Wethington, suggested a blue panel line wash. I like it, but there's a few places I need to dry brush over to tone down the flame cut areas. Getting close, a few more details to add before calling it done.
Thanks for coming by!
:drinks
Dragon included a couple spare steel road wheels, clip off the lugs with a micro chisel, center punch the spots and drill out the bolt holes. The one on the right is unaltered.
I'd swear I took photos of the hold down bracket I made, but maybe not... :hmmm
Yesterday was a blur at the bench, you know how it is when you get on a roll.
The night vision was a left over from the old E-100, I enhanced it with wires, bolt heads and such.
My friend, Carl Wethington, suggested a blue panel line wash. I like it, but there's a few places I need to dry brush over to tone down the flame cut areas. Getting close, a few more details to add before calling it done.
Thanks for coming by!
:drinks

